We recommend using Microsoft Outlook on Windows for checking your Freethought email via IMAP, we recommend against using Windows Live Mail as we find it to be unreliable and prone to malfunction. These instructions should apply to most modern version of Microsoft Outlook from 2019 upwards.
Automatic
As a general rule Microsoft Outlook should configure your mail account automatically using optimal settings. Follow these steps to add your Freethought email account using IMAP to Outlook.
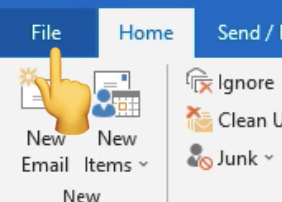
Click on File > Add Account

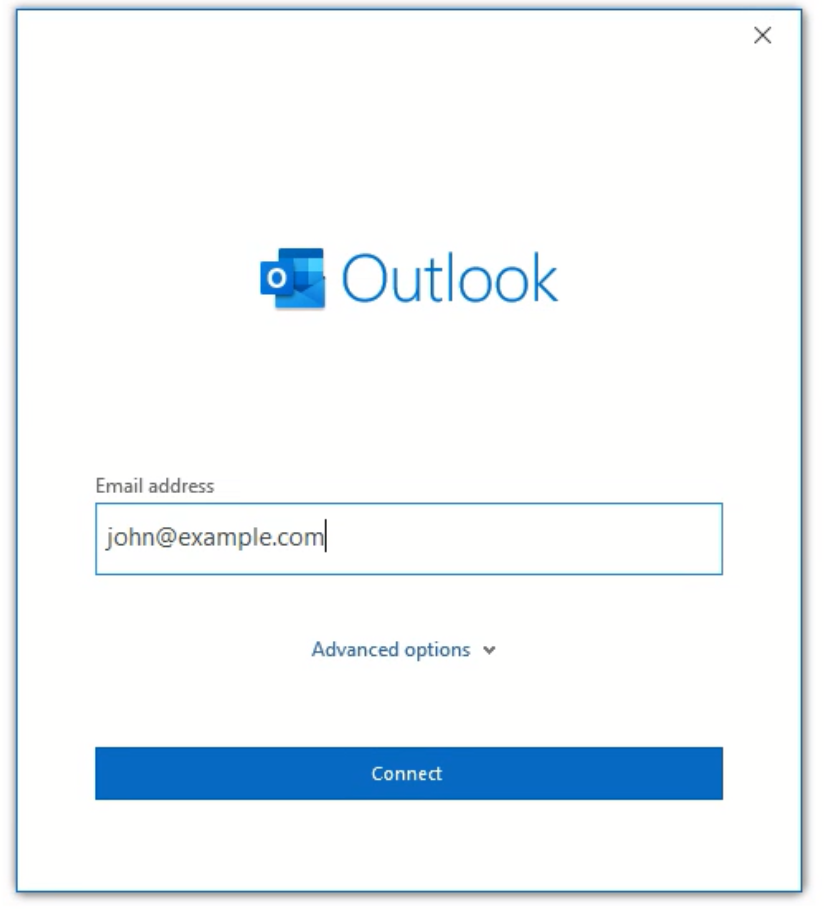
In the window that opens, enter your email address, and click "Connect"
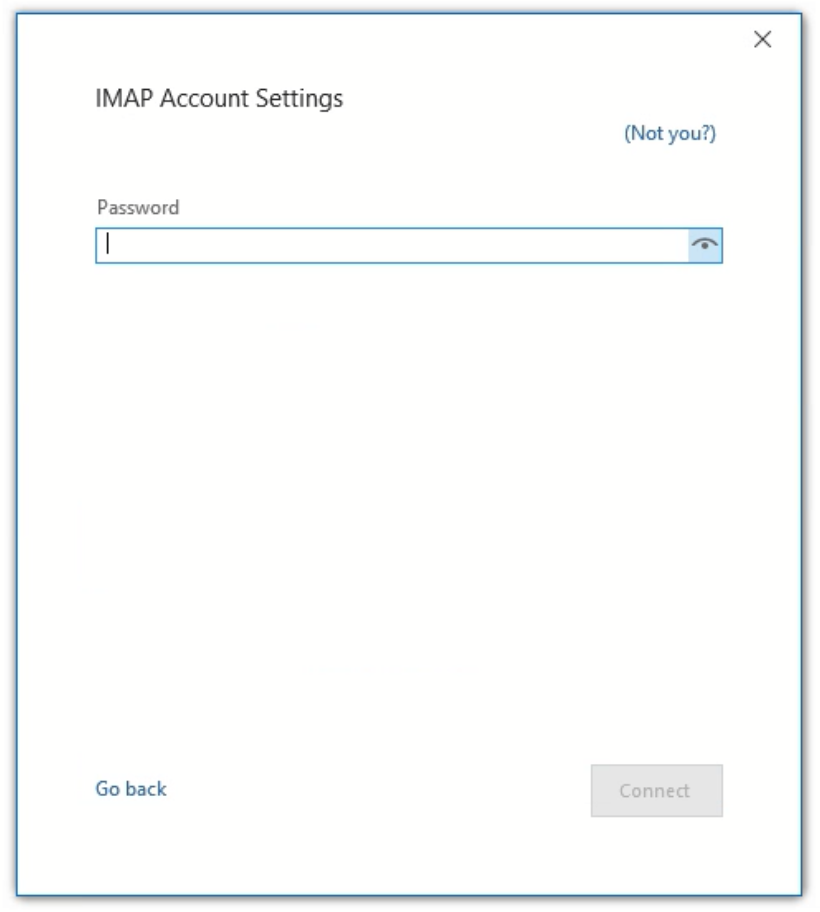
Outlook should detect that you are using an IMAP account, when prompted, enter the password you configured for your mail account in your hosting control panel Plesk or cPanel, and click "Connect"
That's it! Your email account should now be setup and working.
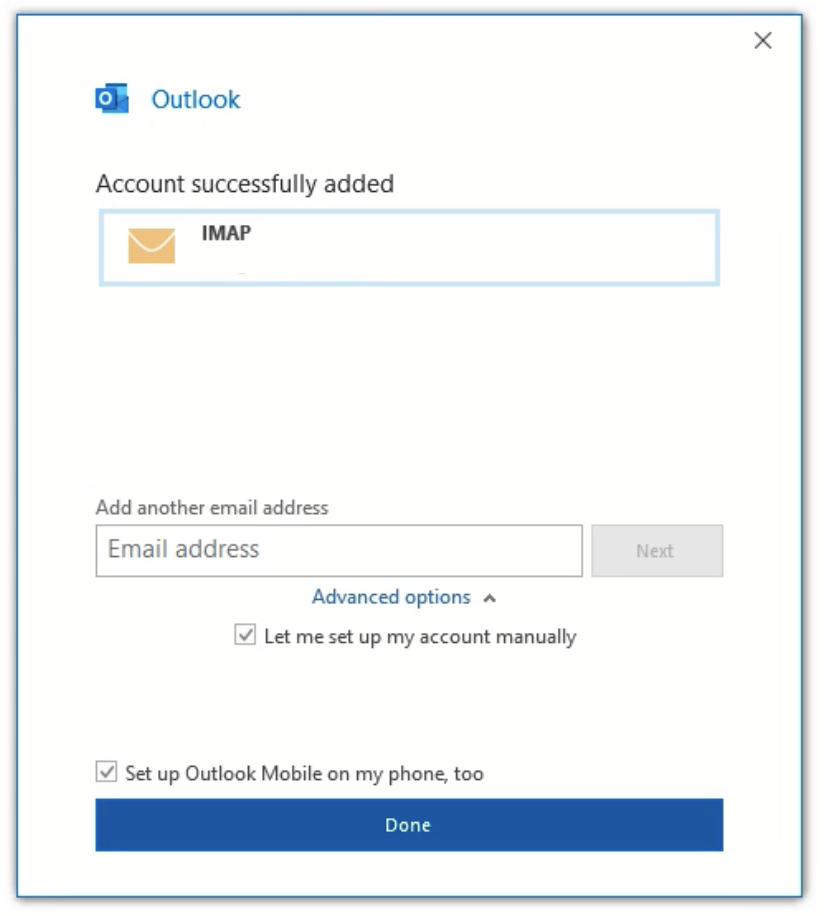
Outlook sends a test email as part of the setup process to verify both sending and receiving is working, so if it says the account is added you can generally trust it! 👍
Manually
In some rare cases you might need to configure Outlook manually with the right server settings. You should always configure the account as an IMAP mail account, we do not recommend using POP3.
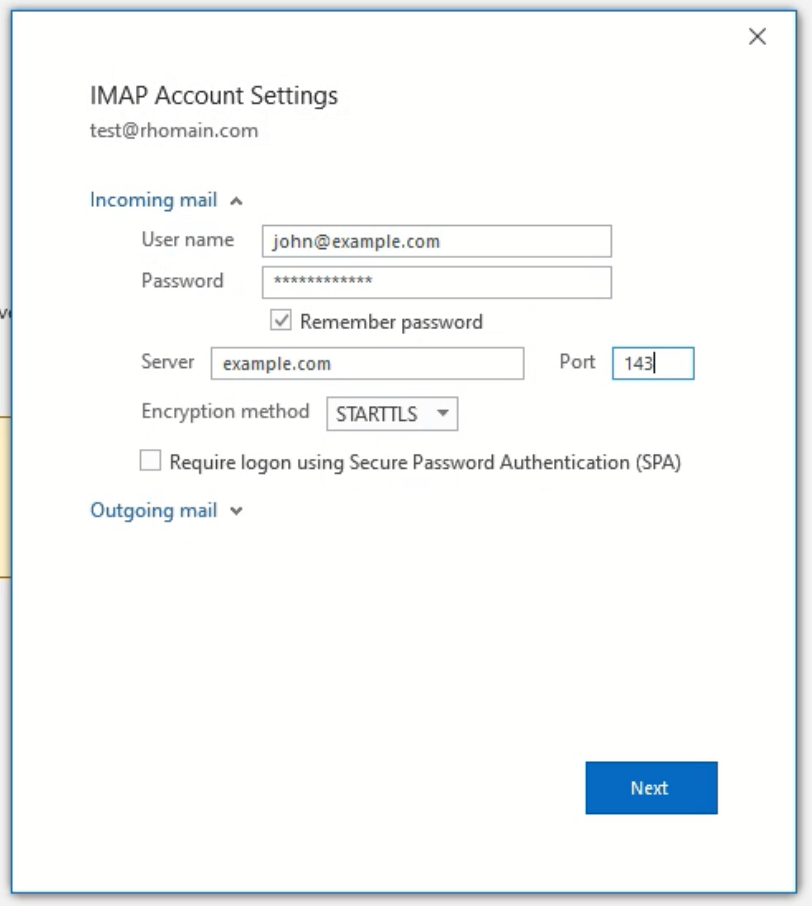
The screens may vary depending on where in Outlook you are, but for incoming email configure your hostname, port, and encryption as below. You can generally just use your own domain as the server hostname for incoming and outgoing. Your username is the email address you are configuring, the password is the same password you configured for that mail account in your hosting control panel Plesk or cPanel.
For outgoing, you should use all the same information but with port 25 or 587 instead. Your outgoing server
does require authentication, using the same details as incoming.
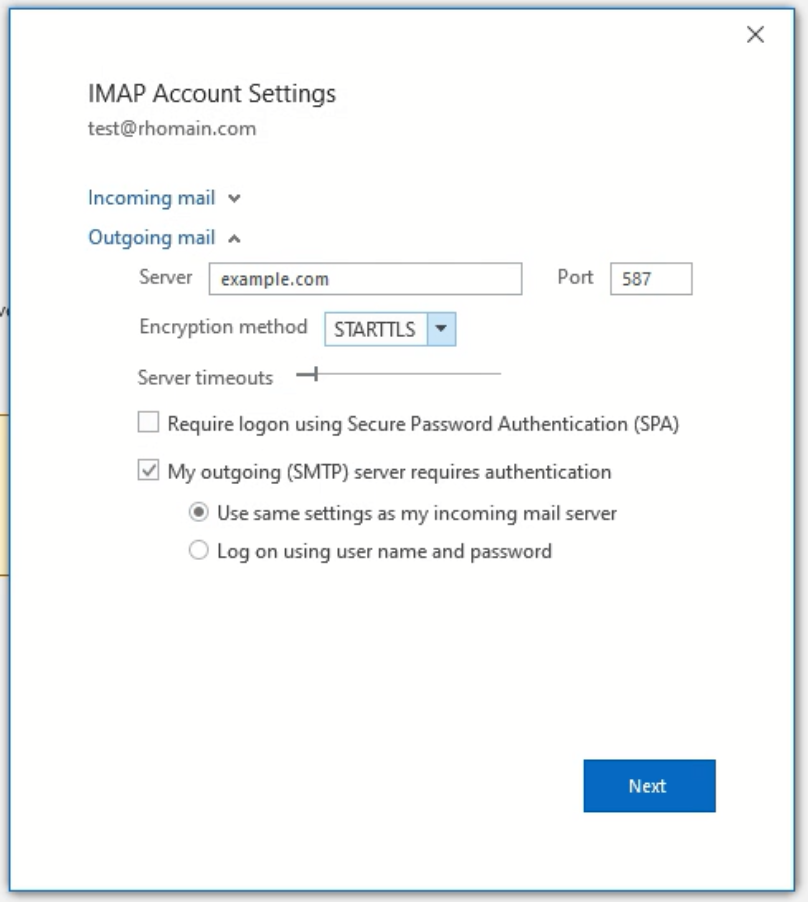
You should
never enable the option "Require logon using Secure Password Authentication (SPA)" as this is not supported on any Freethought service.
When you click Next it will test your settings and verify they're working, and that's it, configured! 🙂