You can connect your Freethought hosted email to your iPhone or iPad mail client via IMAP so you can access and send emails wherever you are. Using IMAP means that all your devices are in sync, when you read a device on your phone or iPad it will be read on your computer and vice versa.
Note that in this article we use iPhone screenshots, but the screens are the same on iPad just a little bigger.
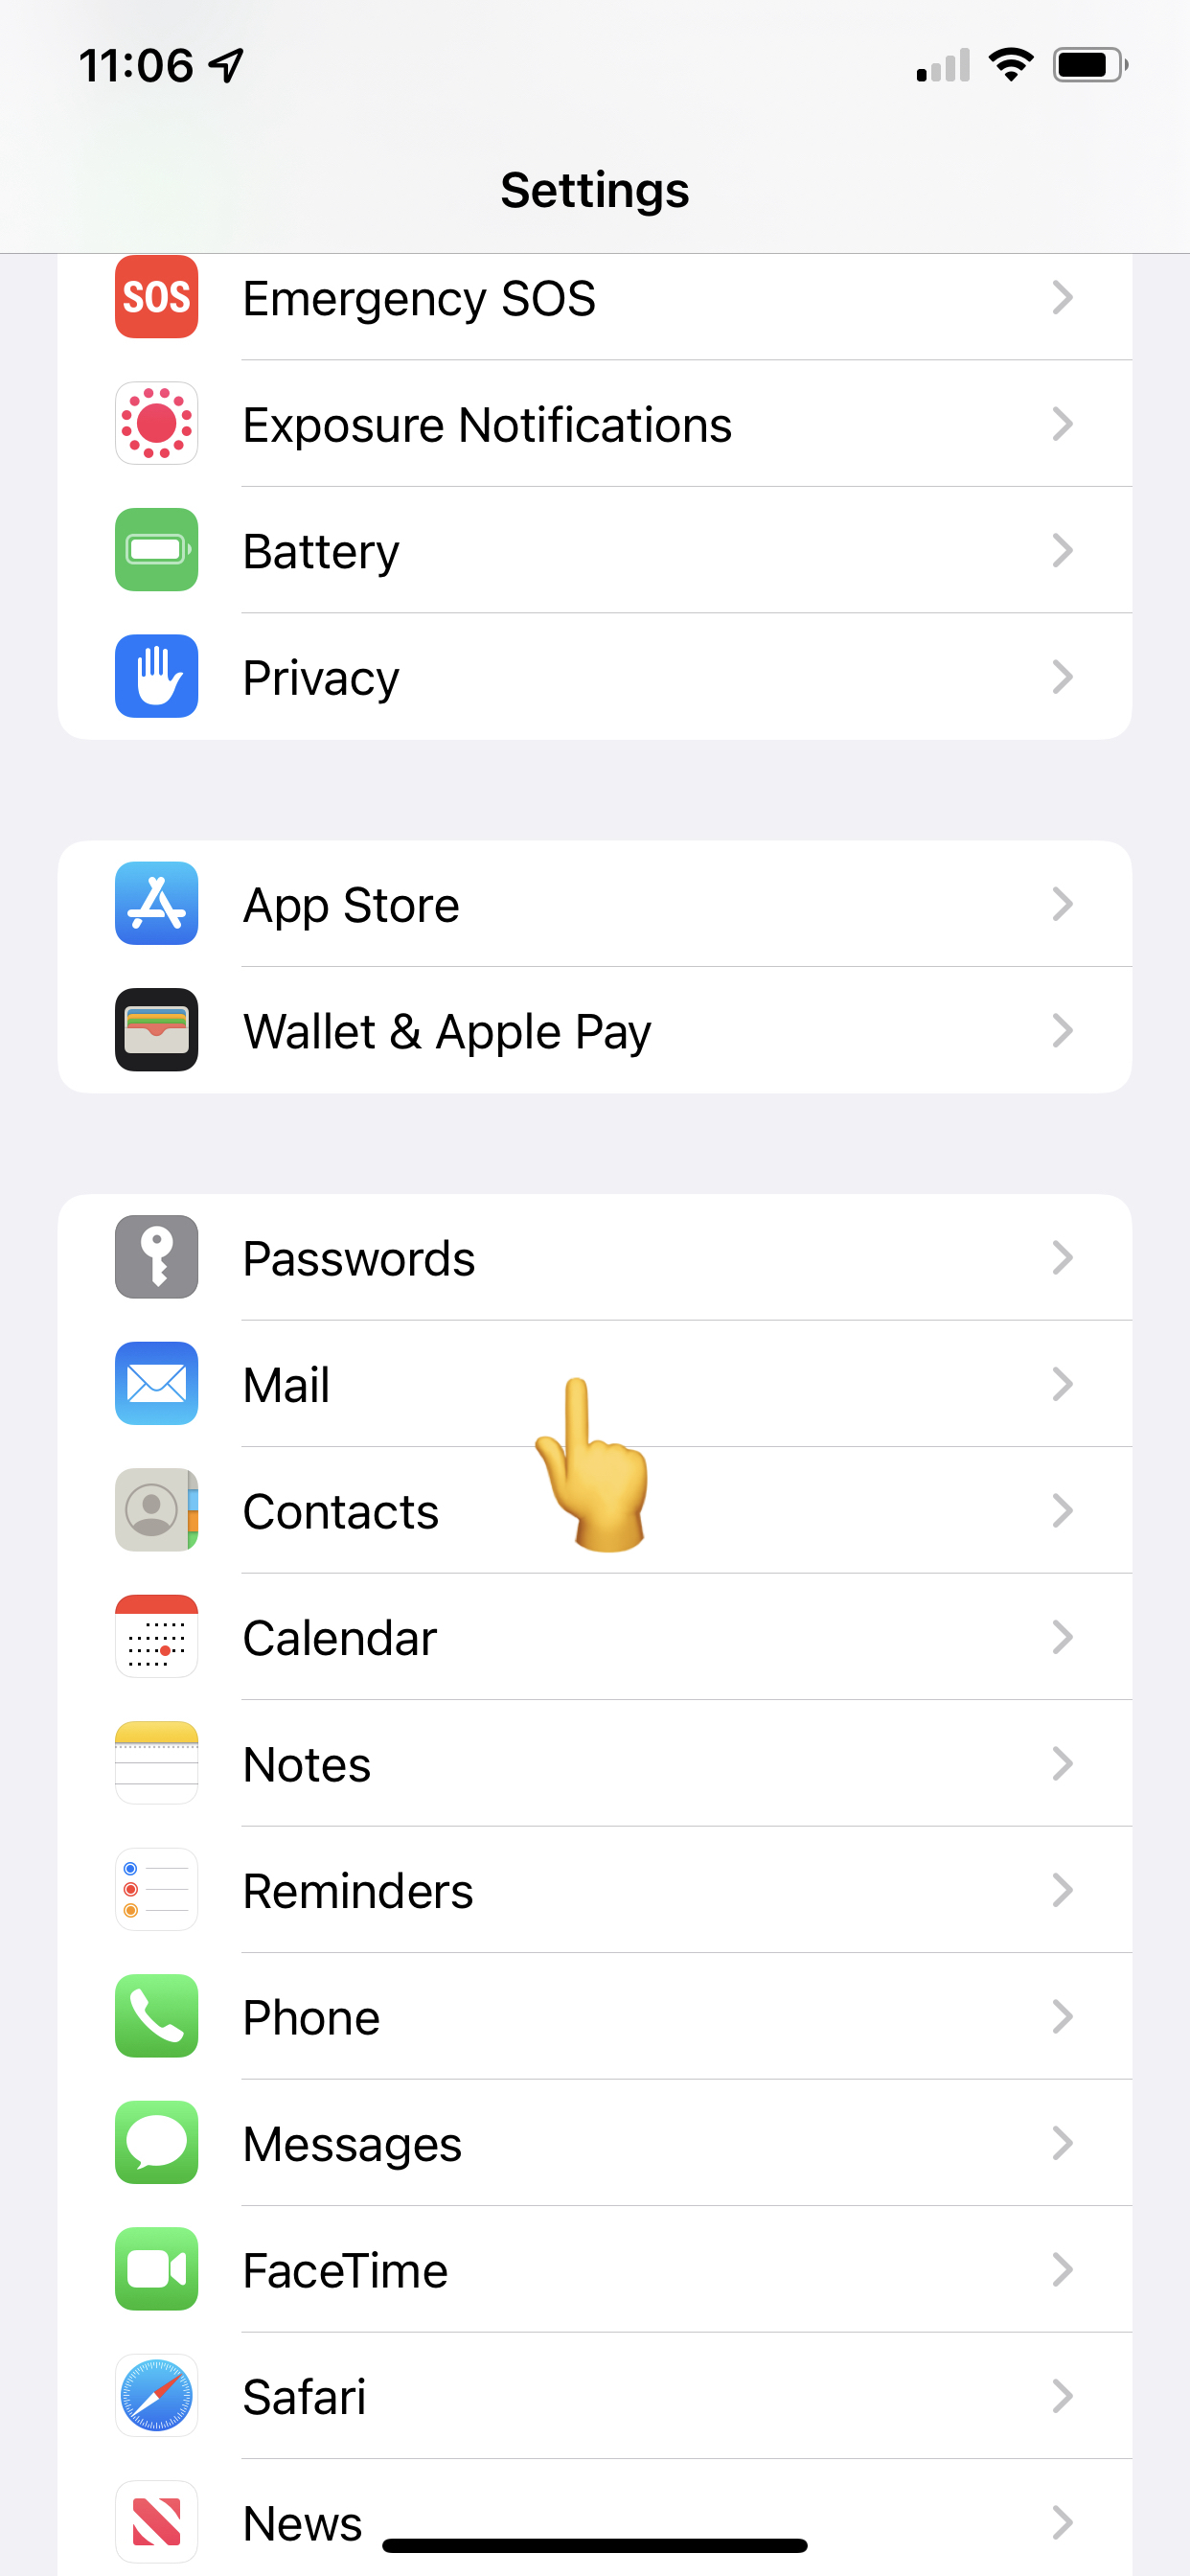
To get started open the Settings app, then scroll down to "Mail"
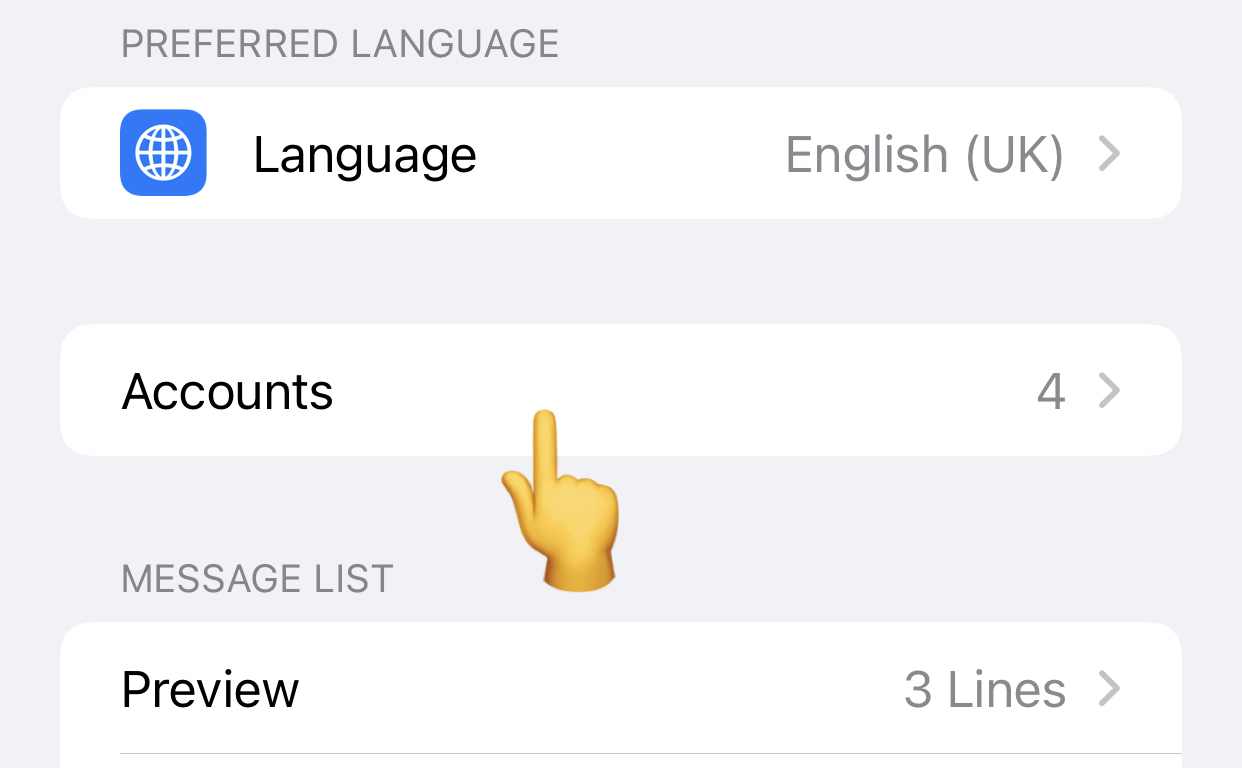
Next, tap "Accounts"
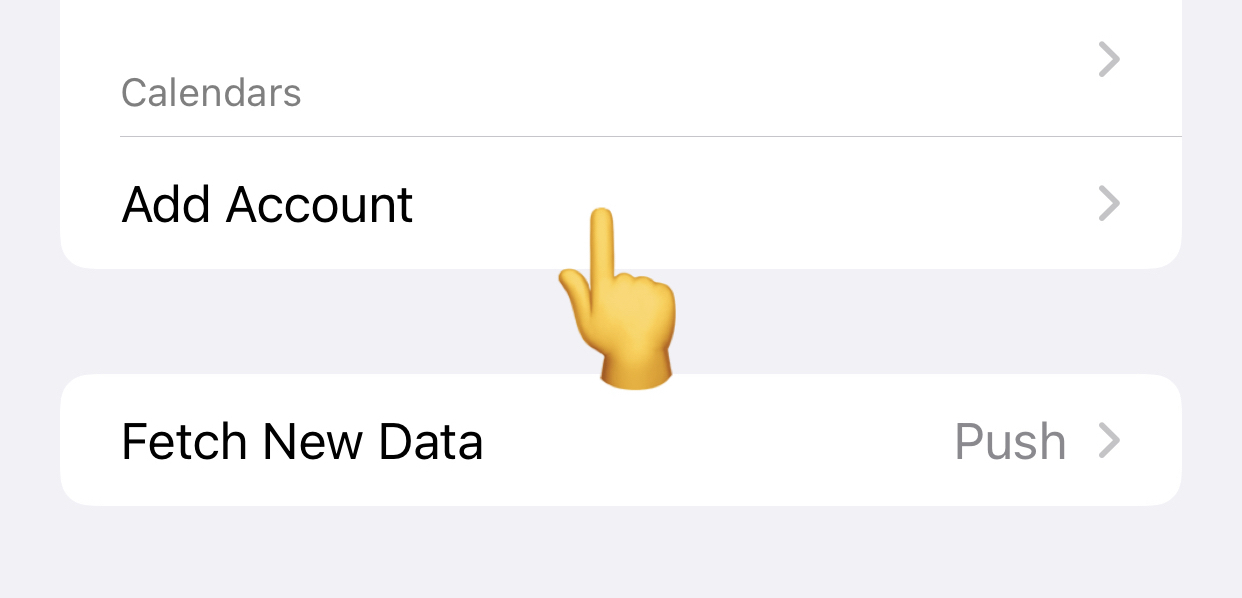
Then, tap "Add Account"
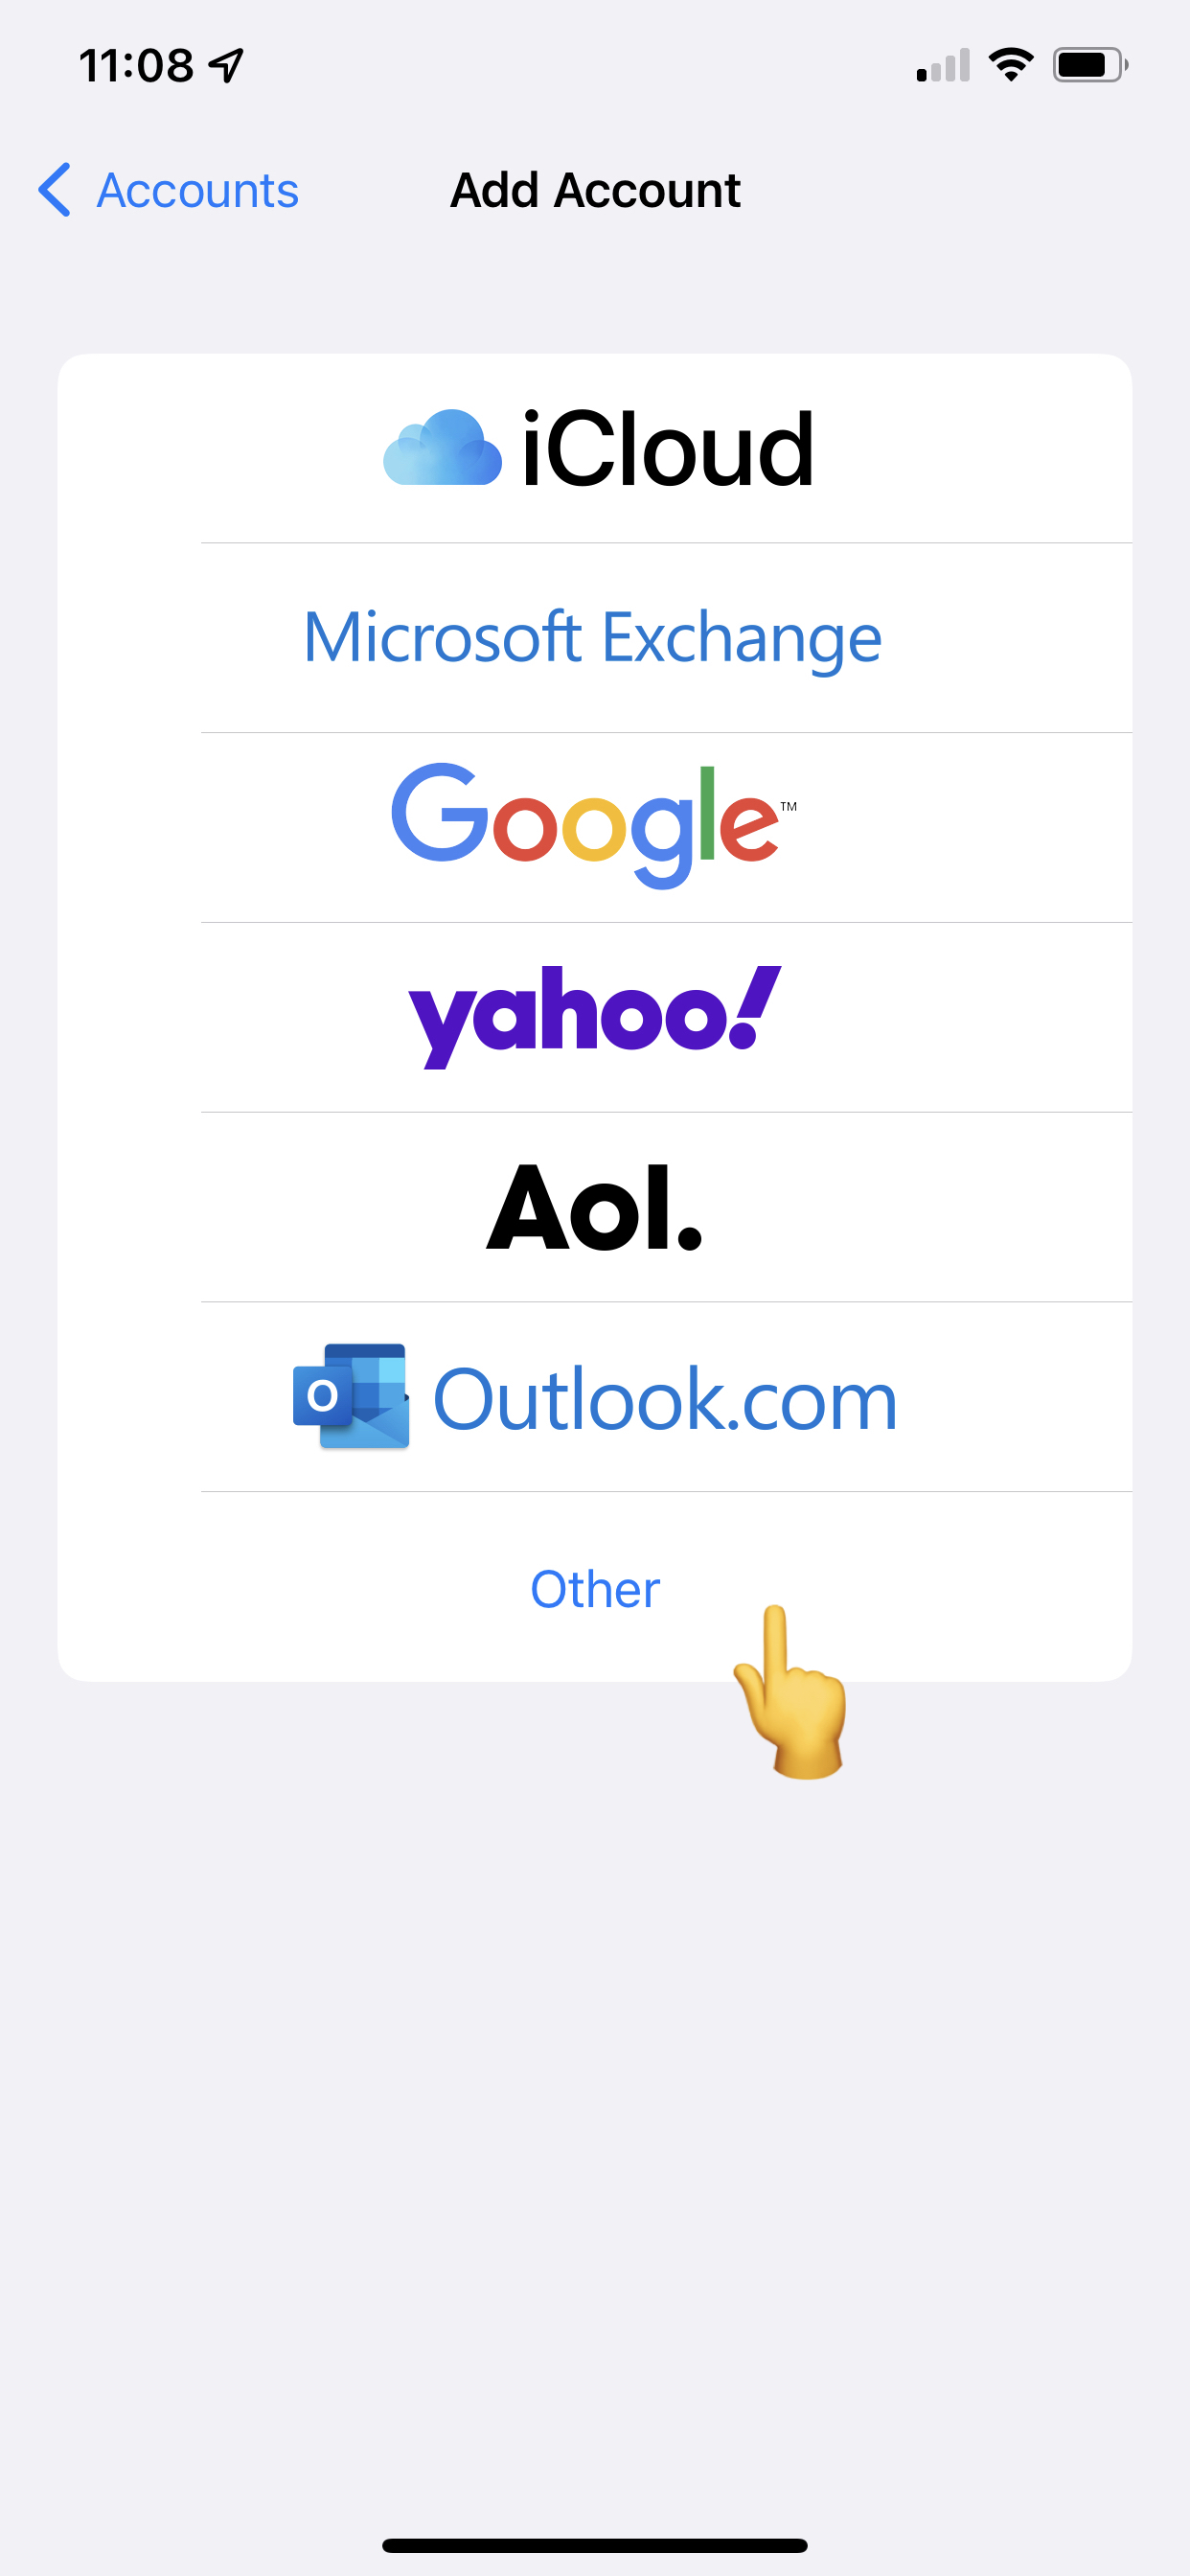
Select "Other"
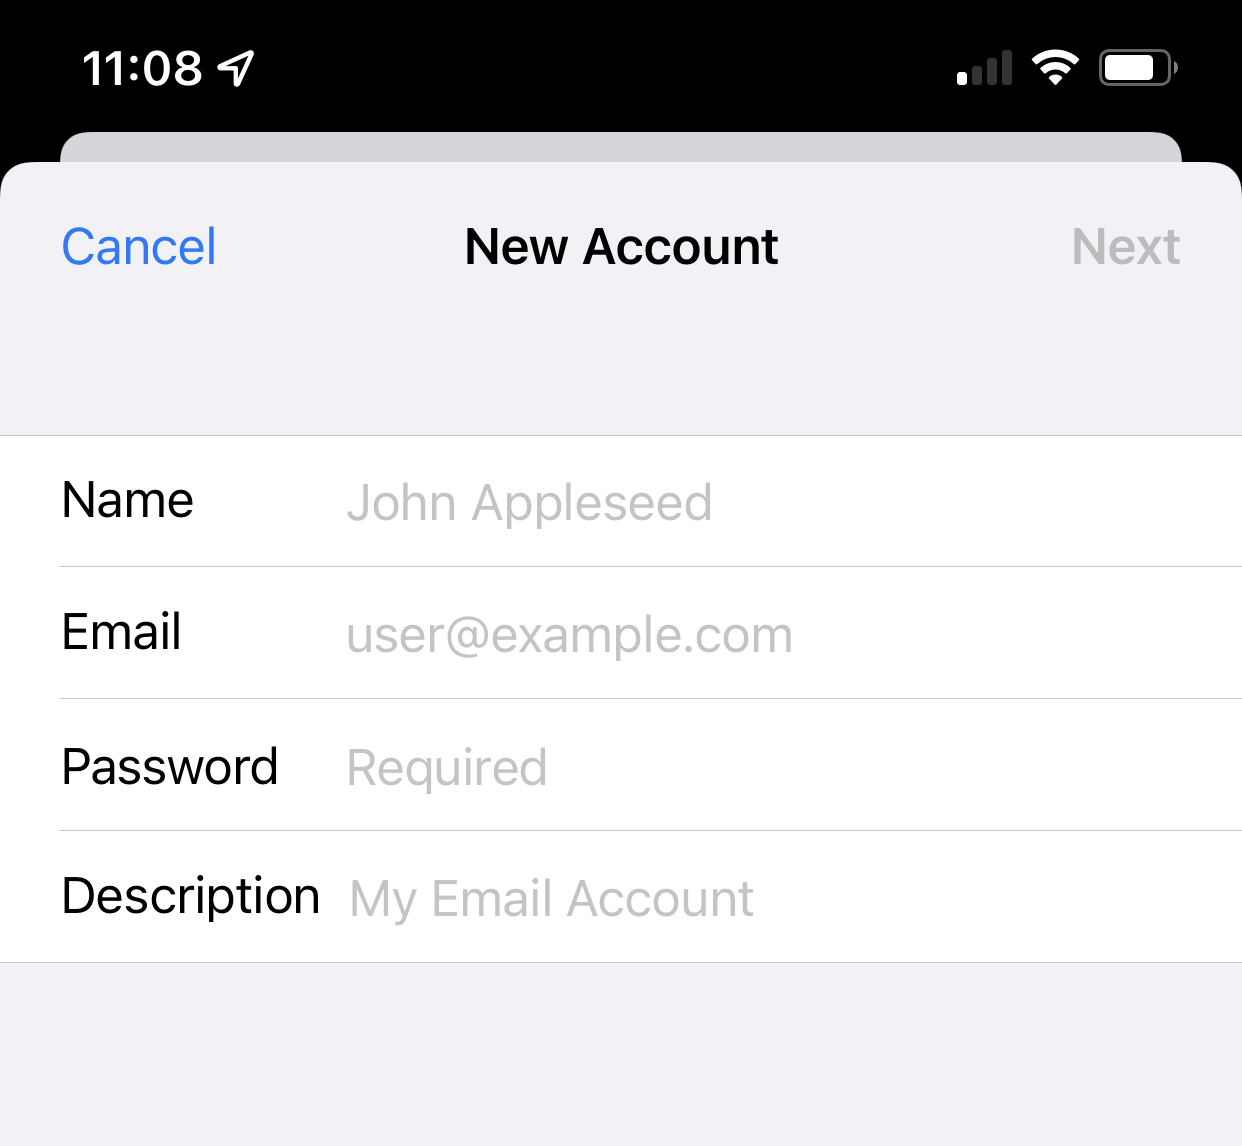
On the next screen fill in your account information and tap "Next". It may say it can't find your email settings, this is to be expected, you will be taken to the advanced connections setting screen to enter the correct connection information.
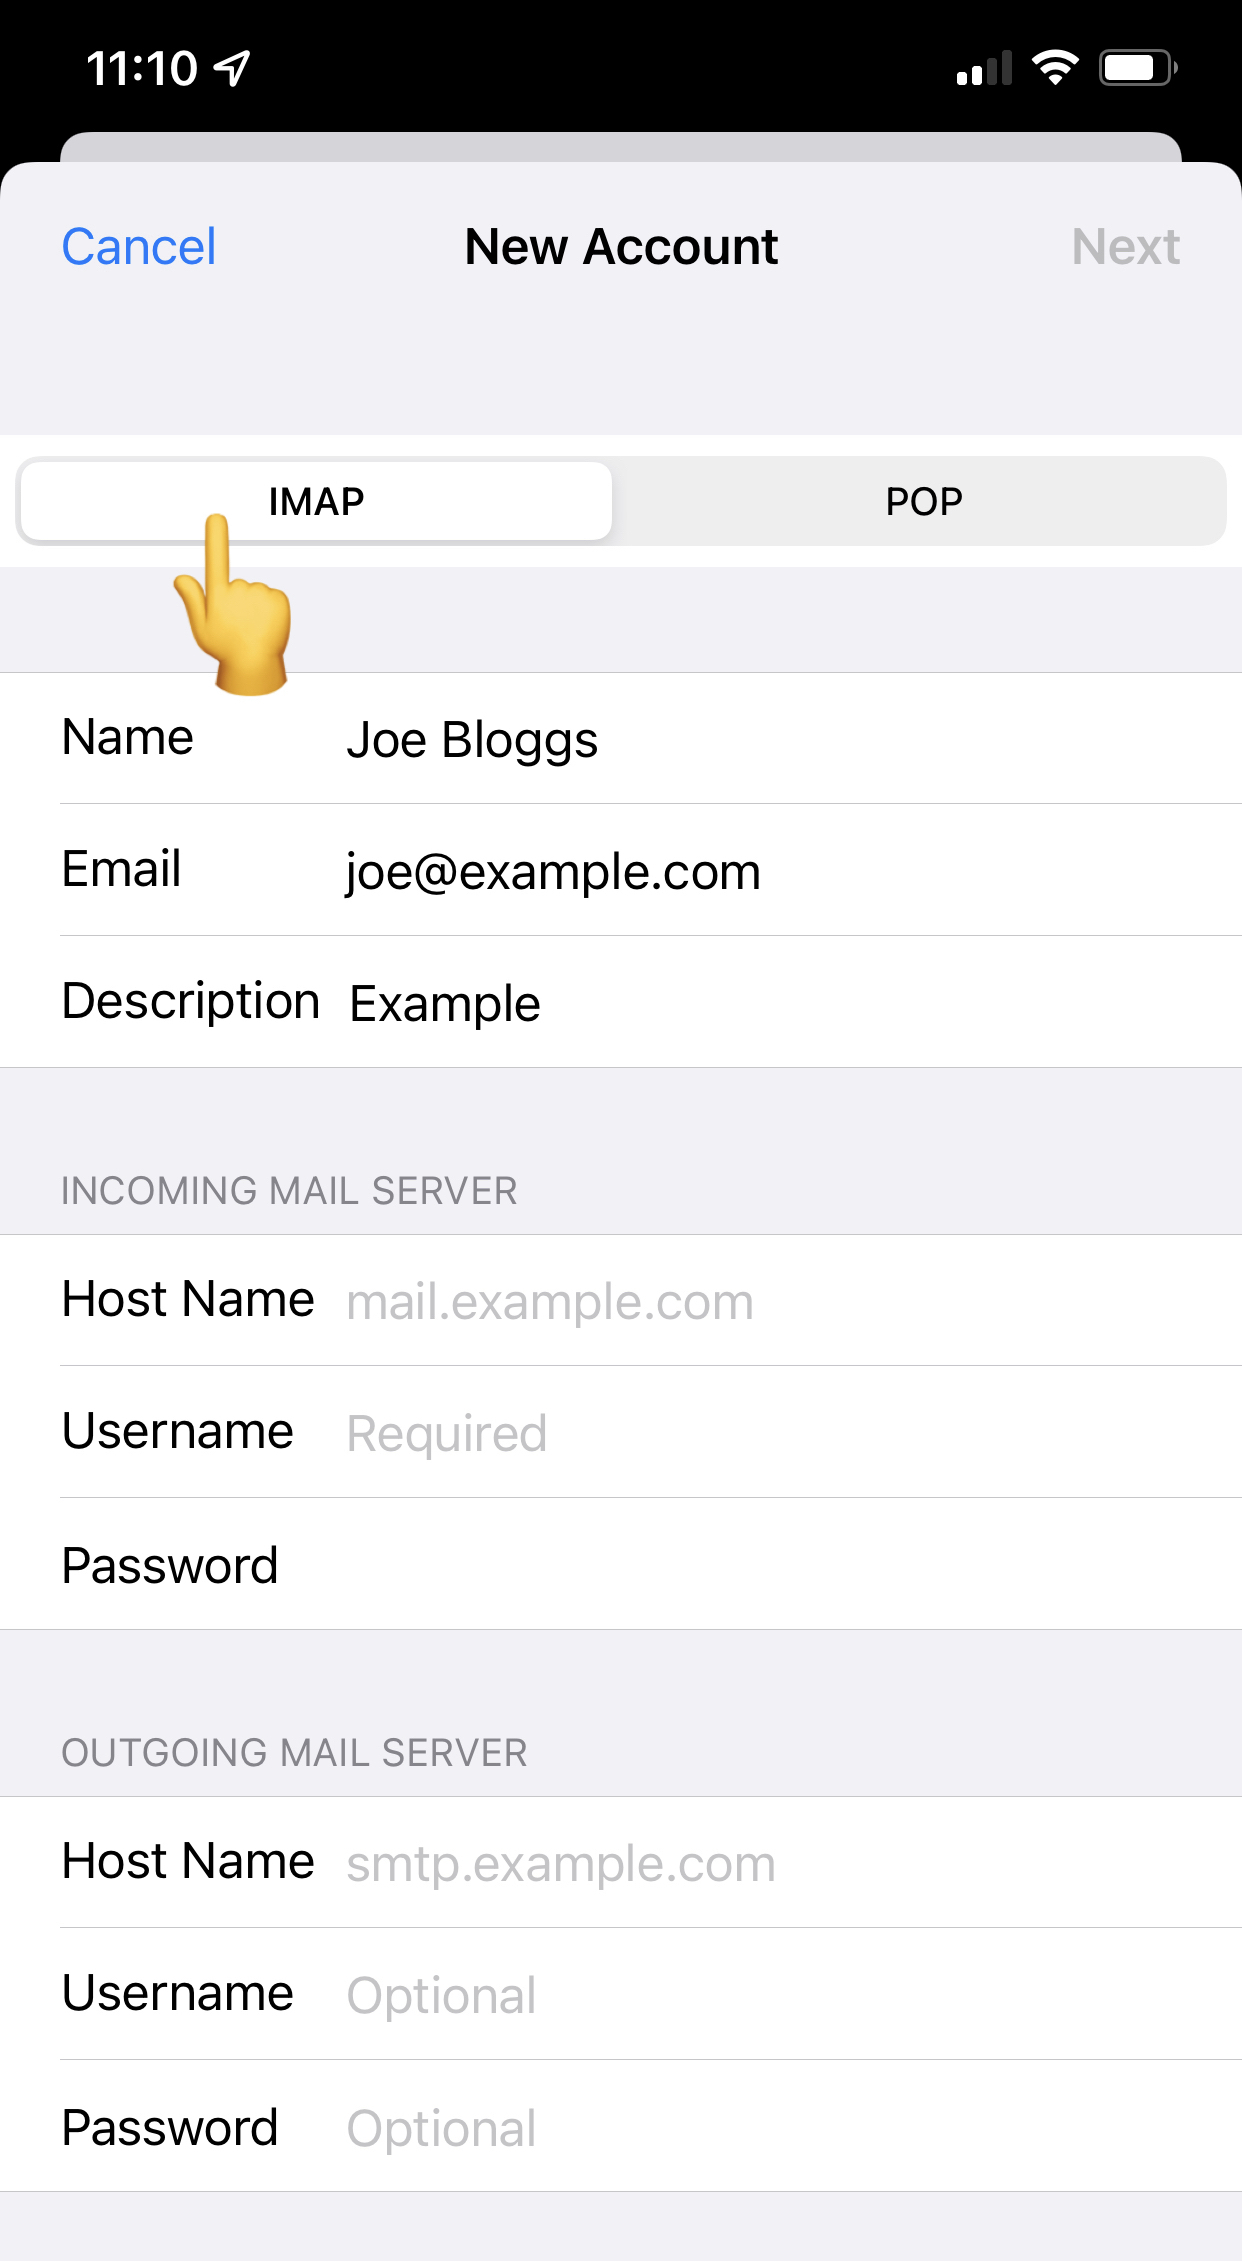
Select IMAP at the top left of the screen, before filling in the connection information. Generally speaking your incoming and outgoing Host Name is your domain with Freethought, so if you have jonesfamily.co.uk then enter this as the host name for both incoming and outgoing. You must also fill out the username which is your email address, and password, for both incoming and outgoing. It is not optional for outgoing so ensure you complete it here also.
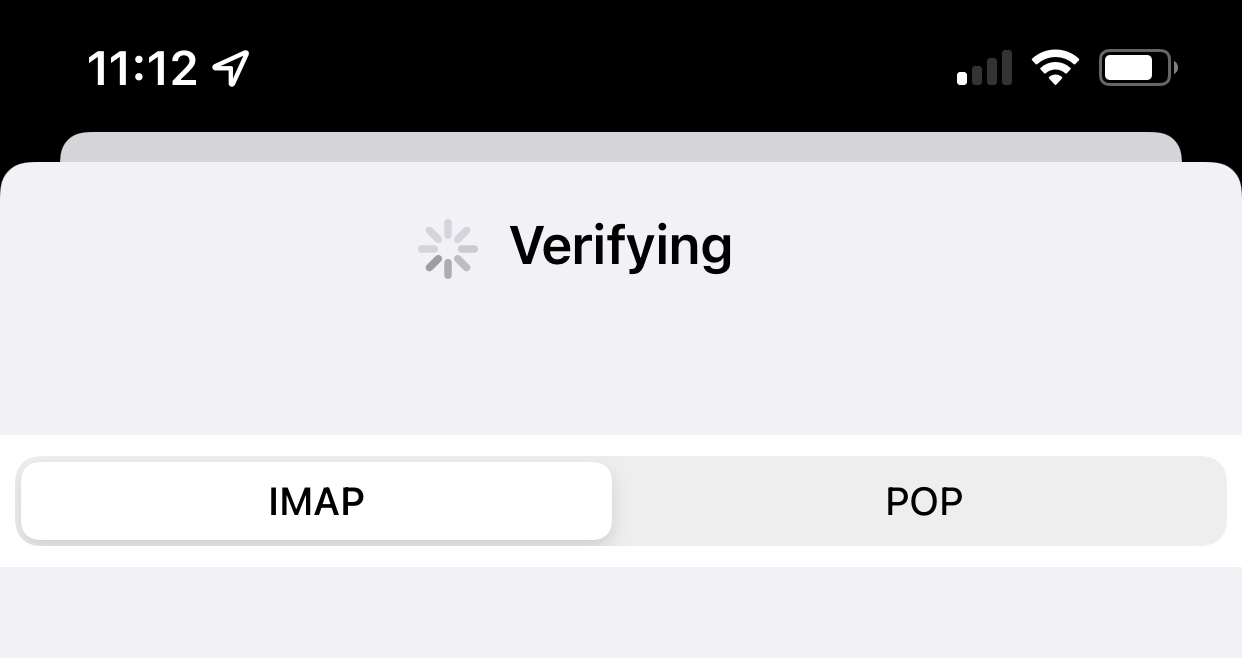
Once you have filled in the connection information click Next and then Save. The phone will then verify the connection, and then display some ticks to confirm it's all working. You can then click Next, and Save.
You can now open your mail app to view and send emails, all done! 👍